Adding Team Members
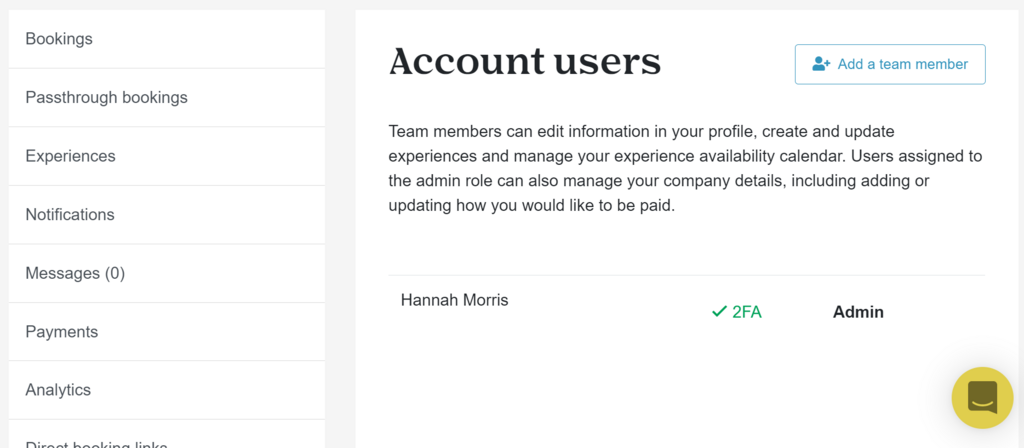
To add teammates/co-workers to a host’s Yuup account and give them access to the profile, the user must first select the Team tab from the menu. The next step is to select Add A Team Member button, next to the Account Users header.
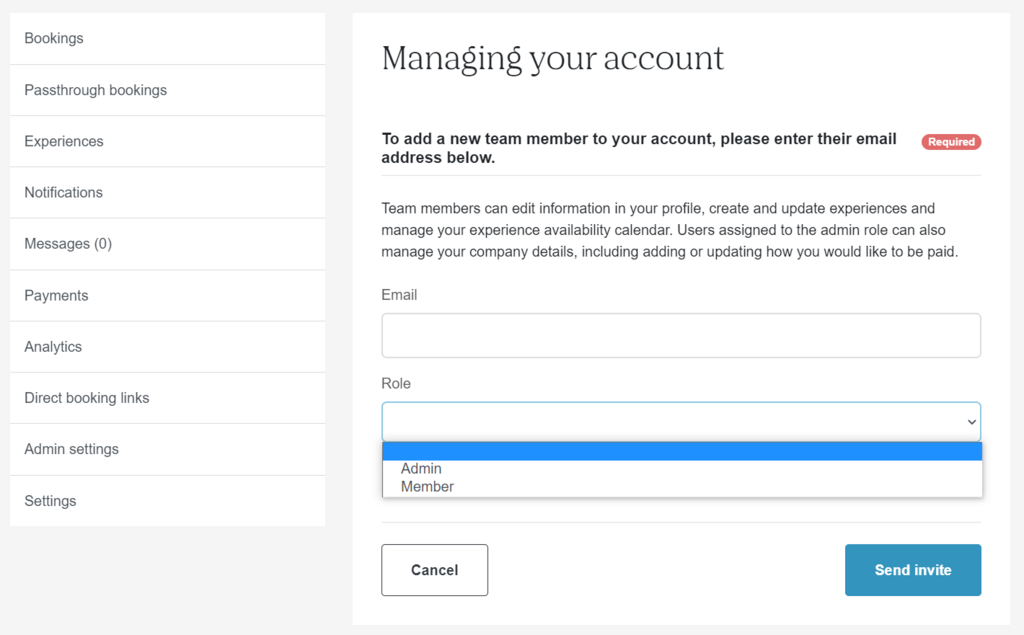
On the following page, the user can send an invite to their Yuup profile by entering the email address of the individual they would like to add. They can also choose to make them a fellow Admin of the profile, or a Team Member who can be removed by an Admin from the account.
Team members have limited access however, will be able to accept bookings, message customers and adjust availability. They also won't receive email notifications regarding bookings - those notifications will be sent to Admin members only.
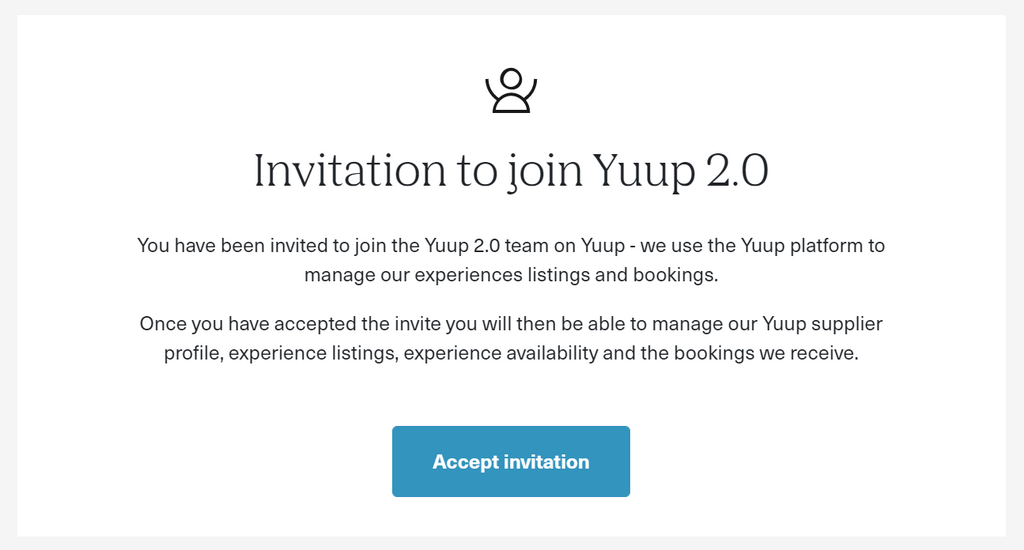
The invite will then be sent to the recipient's email address, who will be given a link to follow. Upon clicking the link, they will be asked to Accept Invitation.
Until the invite is accepted, the invitee will show as Pending under the Team tab. This will change to Admin/Team Member after the invite is accepted, depending on the nature of their invite.
Host Bios
Underneath the Account Users heading is Experience Hosts. This section gives hosts the opportunity to tell their customers about themselves and their expertise in their work. If experiences are hosted by multiple hosts, or each experience has separate host, host can add additional hosts by clicking on Add a new host button.
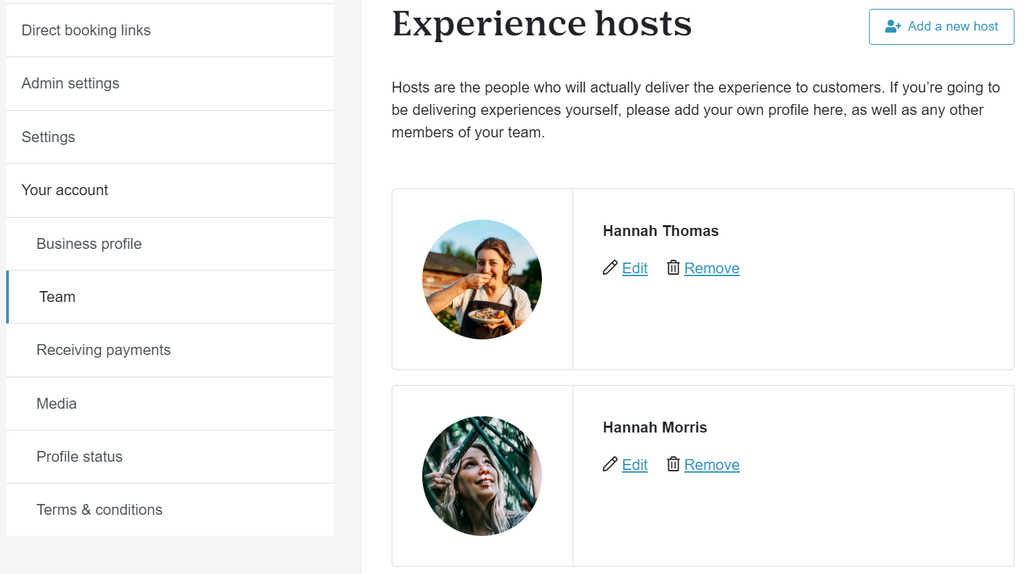
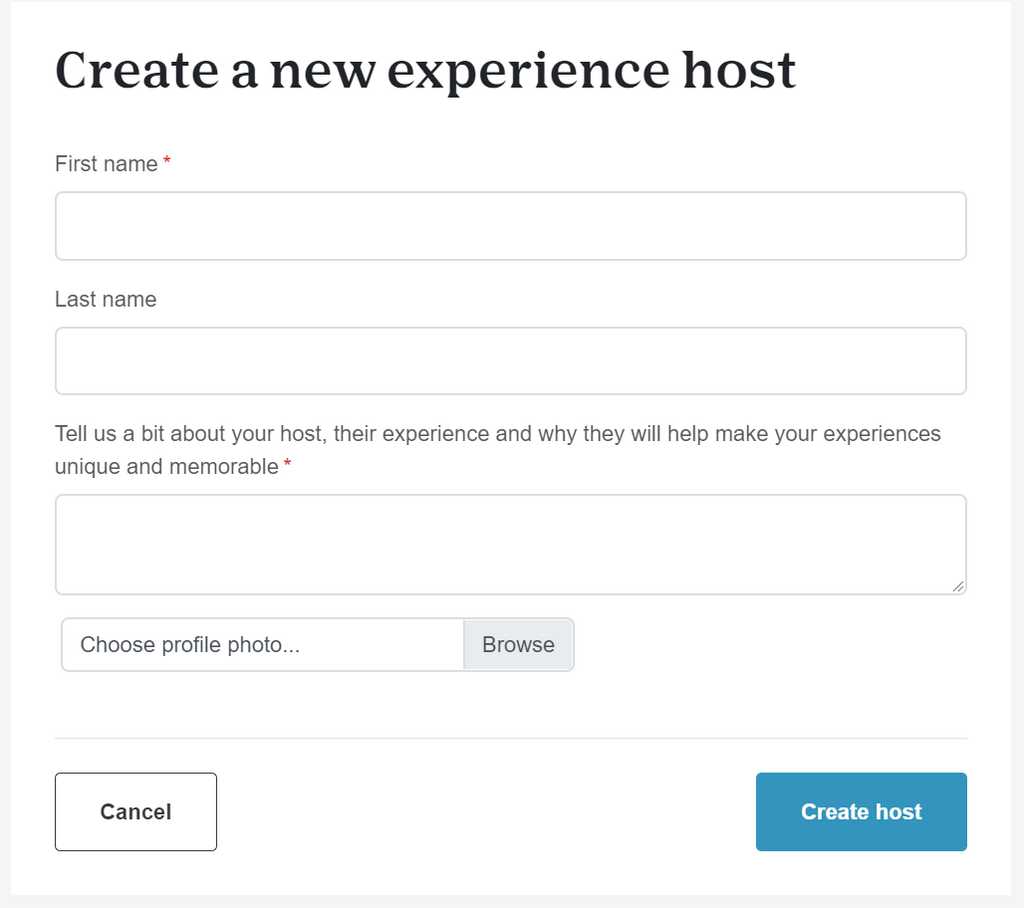
After selecting this, the user is required to enter the name of the host, along with a short bio about themselves and ideally a profile picture.
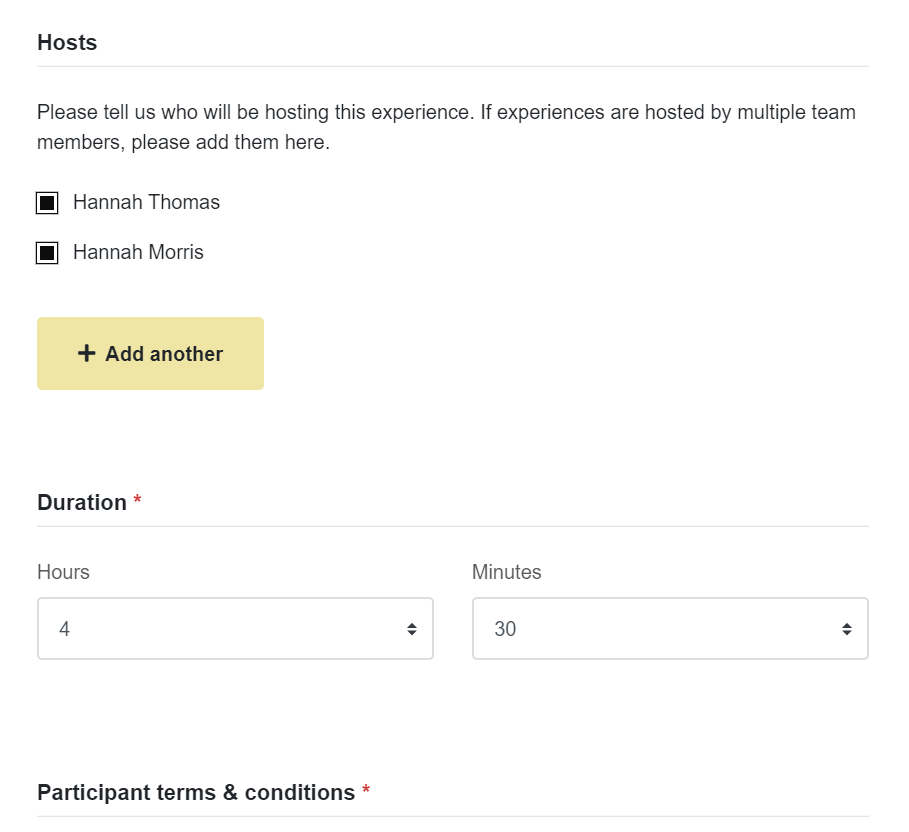
Once the host is created, the user can select whether their bio will appear on their experience page on the Live website by going to the Experiences tab in the Host Portal, clicking Edit on the relevant experience and checking/unchecking the relevant host name. If left checked, the host and their bio will appear at the bottom of the experience page on the Live website.
