Whether you are loading your first Yuup experience, or need a refresher after some time away, this guide will walk you through how to create your experience page.
You can set up experiences through your Yuup host account. The experience page is an opportunity to showcase your event to our customers and attract bookings. Please read the following information carefully to help make your experience a success!
Getting Started
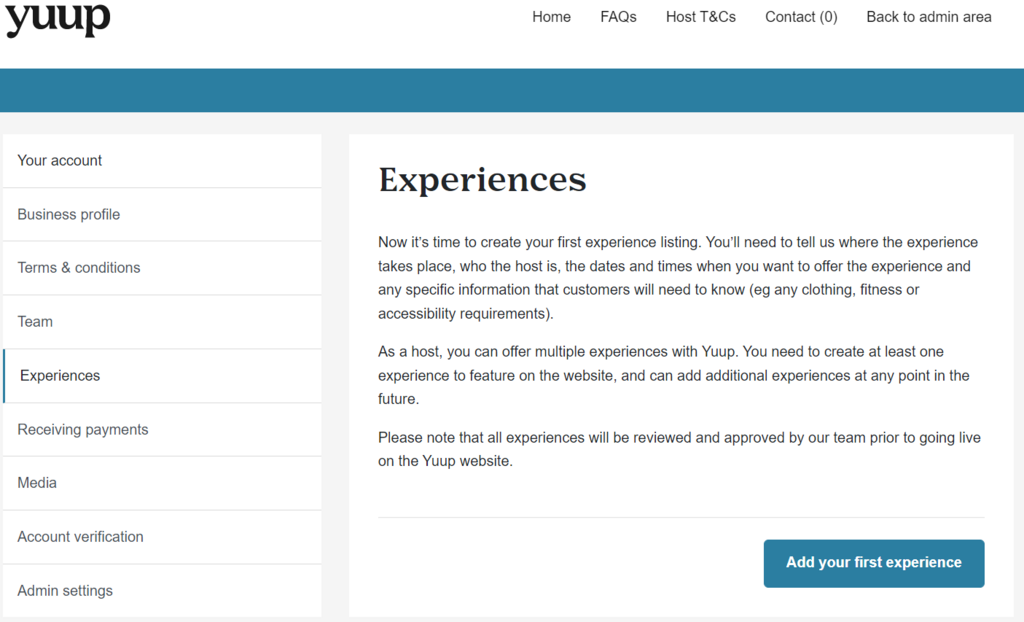
To get started, select the Experiences tab in your host portal. If you are setting up your first experience, please read the text displayed carefully before selecting Add your first experience.
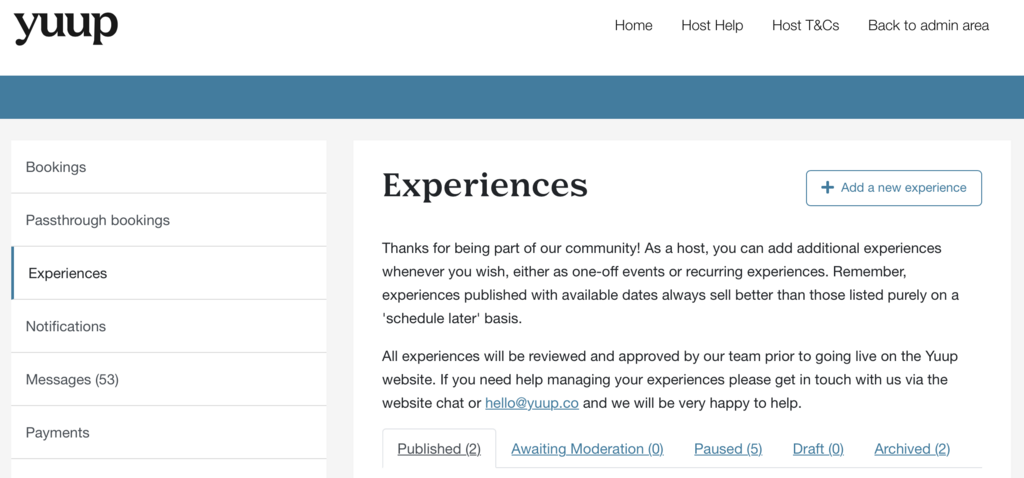
If you have already set up an experience on your Yuup host account, you will need to select + Add a new experience in the top right-hand corner of the Experiences tab. You can find all of your experiences in this section of the host portal, with tabs separating them by status i.e. published, paused.
Creating Your Experience Page
At the top of the New Experience page, you will see a message from our team in red. Please read this message before starting your experience as it will contain important information and updates.
If this is your first time setting up an experience and you have not yet spoken to a member of the Yuup team, please reach out to hello@yuup.co to discuss your event before setting up your page, as unfortunately not all experiences can be accepted.
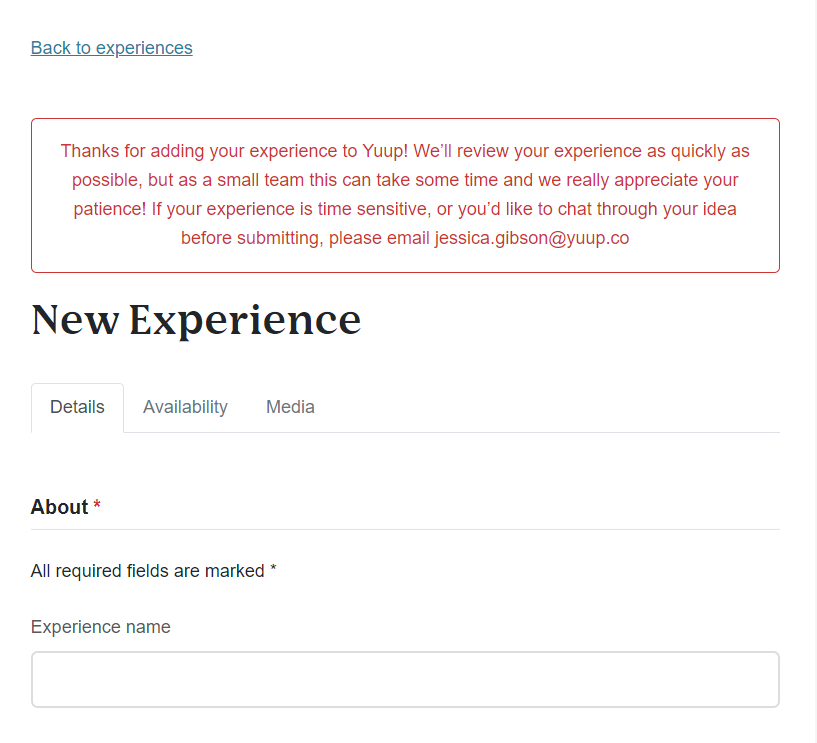
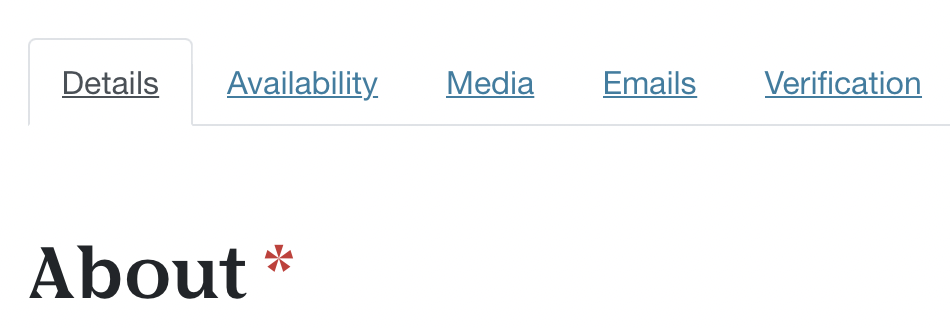
Along the top of the page you will see three different tabs: Details, Availability and Media. Note that the latter two will be greyed out until the Details section has been completed and saved.
Firstly, you will need to enter the Experience name. This is the event title that customers will see when browsing experiences on Yuup. It will also be used to generate the experience page URL, so please bear this in mind when choosing your experience title.
We recommend making your title as clear as possible so that customers will immediately know what the experience is. Concise and engaging Experience names are more likely to attract attention from Yuup customers. Titles are limited to 50 characters and if you would like any help or suggestions from our Content Writer feel free to get in touch!
Experience Description
The Experience description is your opportunity to promote your event to Yuup customers, highlighting what is unique and exciting about the experience, and why they should book it!
Here are some tips on how to make your description shine:
- What is the experience? Snappy, succinct descriptions will capture customers' attention. However, you want to be sure that your description is detailed enough to give the reader a really good understanding of what your experience is and what they can expect on the day.
- What's included? It is important to detail exactly what is included in the ticket price. Do customers need to bring anything along with them to the experience? Are there any additional add-ons or alternatives that customers need to know about? Are there any extra treats included in your experience that you should be shouting about?
- What will customers take away? Are you running a workshop where customers will make something to take home? Or will customers learn a new skill that they can develop in their own time? Whether it's a piece of handmade artwork or a newfound love of foraging, be sure to say what customers will take away.
- Who is the event aimed at? What type of person would love this experience? Is it suitable for individuals, couples, friends or family? Your experience could be suitable for everyone, but it's worth thinking about your target audience and tailoring your experience description accordingly.
- What do customers need to know? Any other essential information – whether it be Health & Safety rules or consent forms that must be signed, keep your customers informed on anything they should know before arrival.
Yuup Extras
You have the option to add 'Yuup Extras' to your experience listing. This is an added incentive for customers to book through Yuup, offering them something they would not receive if they booked through another platform.
It can be an extra perk or add-on, such as an in-store discount for Yuup customers or a small memento to take home with them.
Instructions, Guidelines & Facilities
Moving onto the Instructions, this section is where you can tell customers important information that they need to know ahead of the experience. This can include:
- Any equipment or clothing they should bring.
- Directions to the venue.
- Parking options (if available).
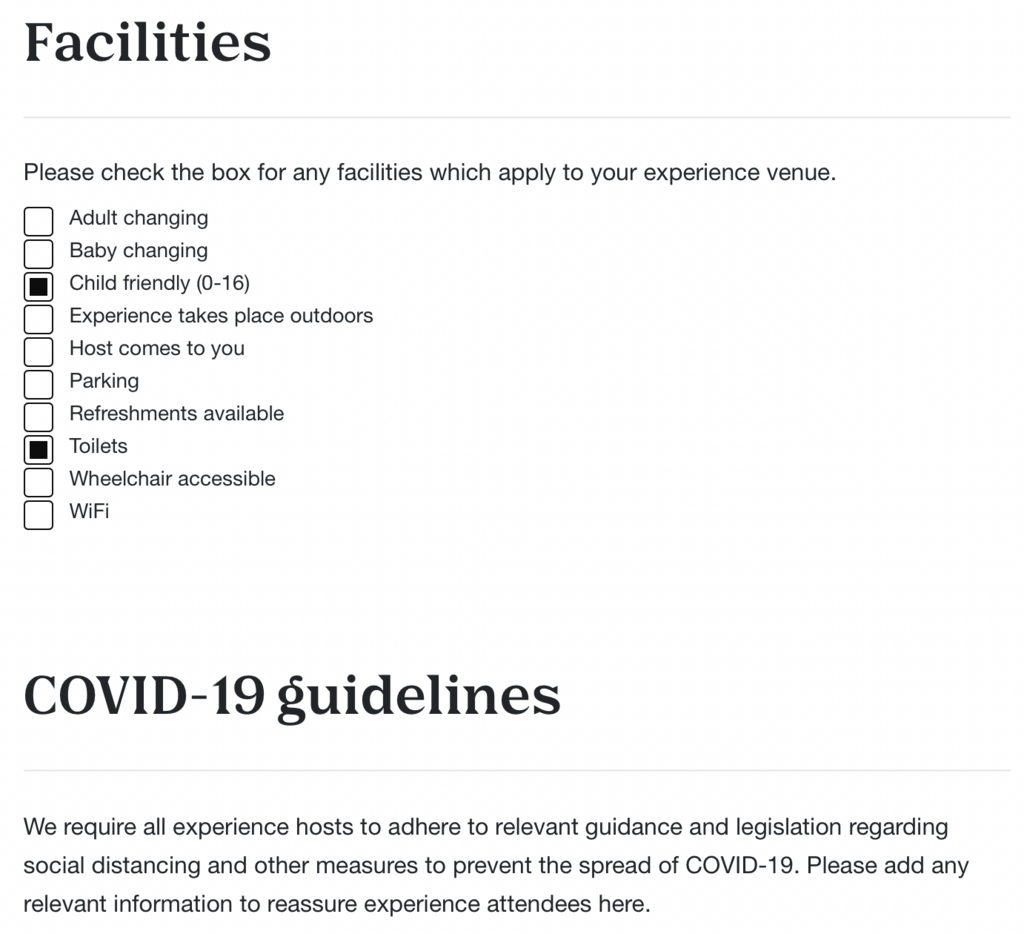
Below the instructions, you need to add a minimum age limit for your experience and note if a minimum fitness level is required. You are also welcome to add any Covid-19 safety measures you will be taking at the venue to your page, if applicable.
Please select the available facilities provided at your venue from the list displayed for the benefit of your customers.
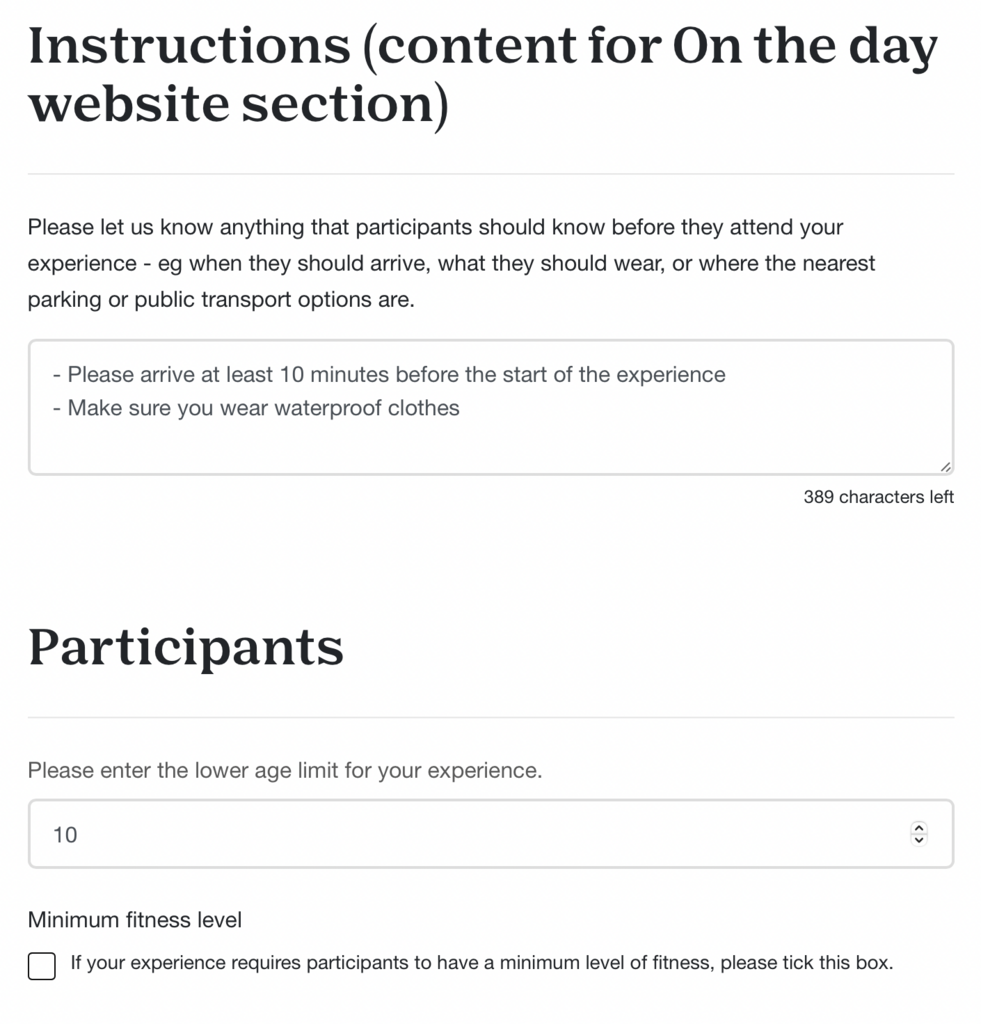
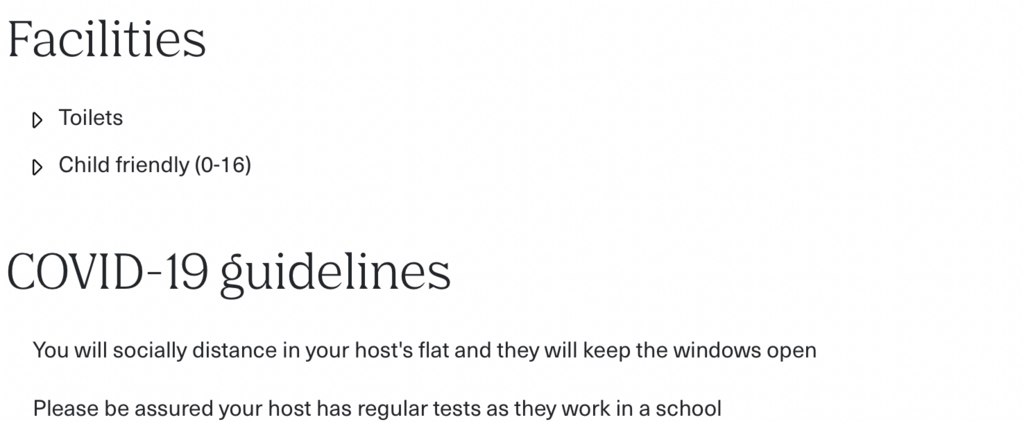
These completed sections will appear at the bottom of your published experience page, below your Experience Description and the map of your experience location. The Instructions section will appear under the header On the day.

Location
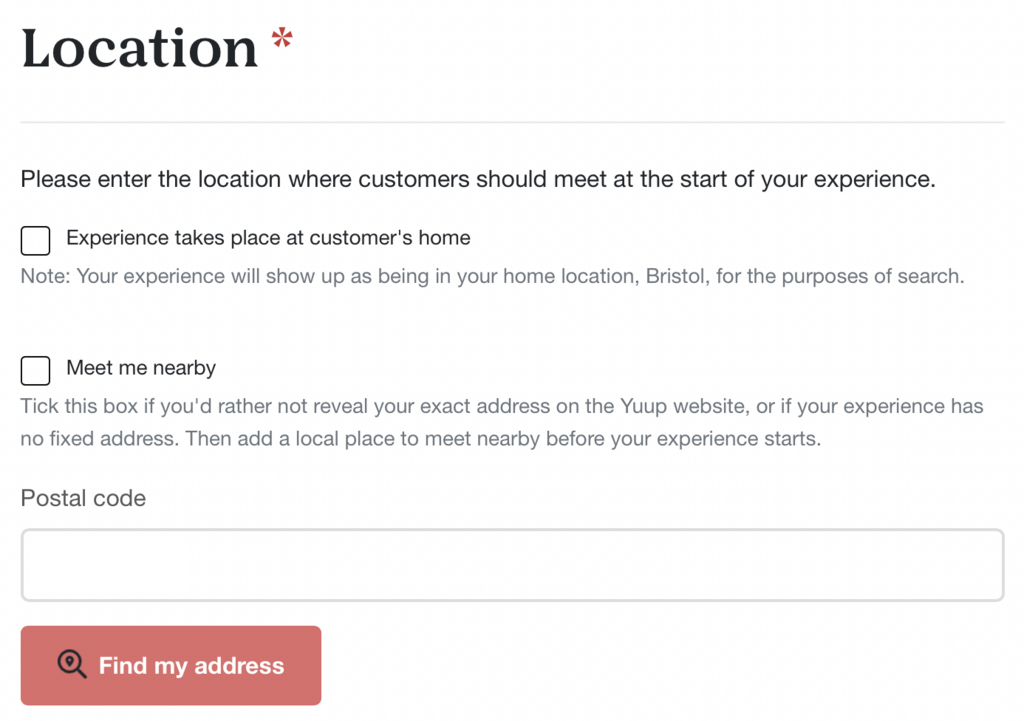
At this stage, you will need to enter the address where the experience takes place. If you don't want to reveal the exact address, select the Meet Me Nearby box and put in the address of where you would like your customers to meet you.
Enter the location postcode into the search bar and select the correct address from the dropdown menu. Alternatively, you can add the address manually.
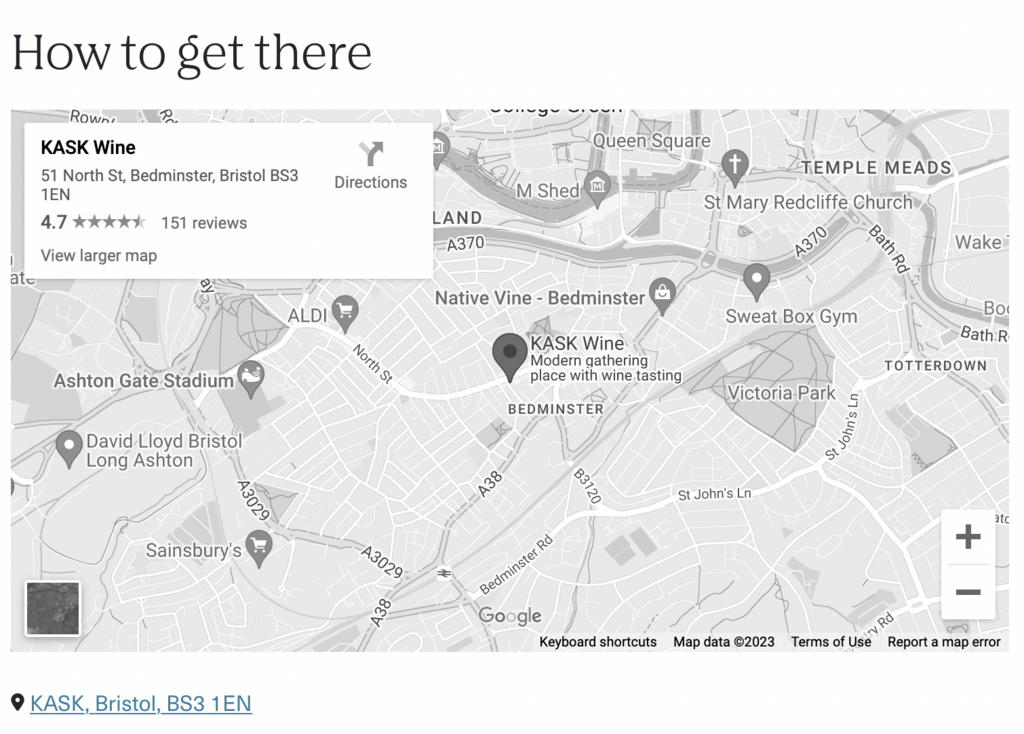
Select the Area of the city where your experience takes place. If there isn't an exact location match, please choose the nearest Area available. Google Maps will generate a map of the location from the address provided, so don't worry if the Area isn't a perfect match.
If relevant, there is also the option to select the Experience takes place at the customer’s home box. This will also allow you to give the customer instructions on what they might need to do in preparation. If you select this option for your experience location, customers will be asked to enter their address during checkout.
Pricing
Here is where you can add your ticket types and prices. If you would like advice on experience pricing please get in touch.
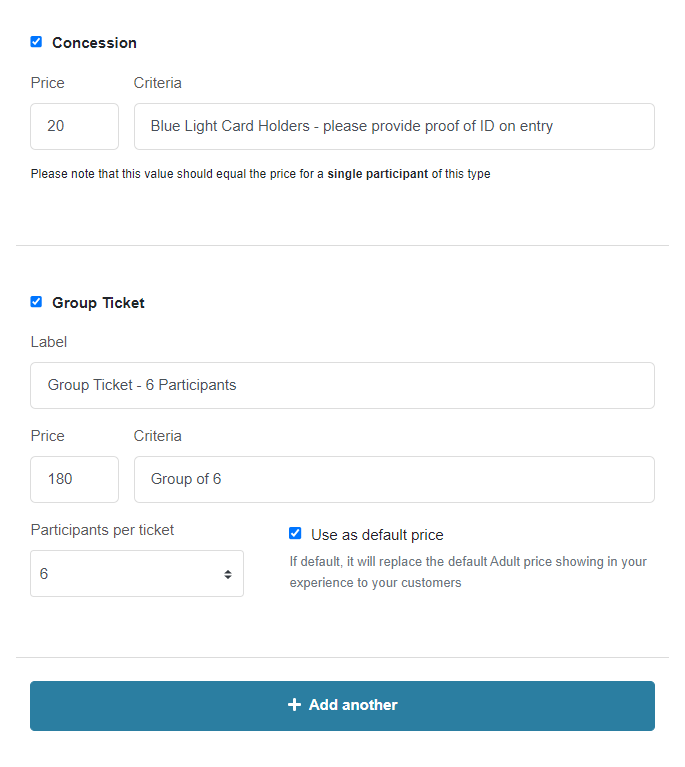
Please set your prices and add criteria to your ticket options if applicable i.e. available with a valid student ID card. To add or remove a ticket type from your event listing, use the tick box to the left of the ticket name. Any ticket types without a blue tick next to them will not show on your listing.
You can also add a Group Ticket to your experience page. You will need to enter the number of Participants per ticket in the relevant box so that when a group ticket is sold it updates the number of remaining spaces accordingly.
If you wish to add another group option or a custom ticket type, click the blue + Add another button and enter the ticket name, criteria and number of participants. Select the Use as default price tick box if you want the new ticket type to be the main option displayed to customers.
Please note: If you are selling tickets through multiple platforms, we ask that you charge the same amount for your experience on Yuup. This is to ensure our customers are getting a fair price and a positive shopping experience. It also helps to support Yuup and our wider host community.
Cancellation Policy
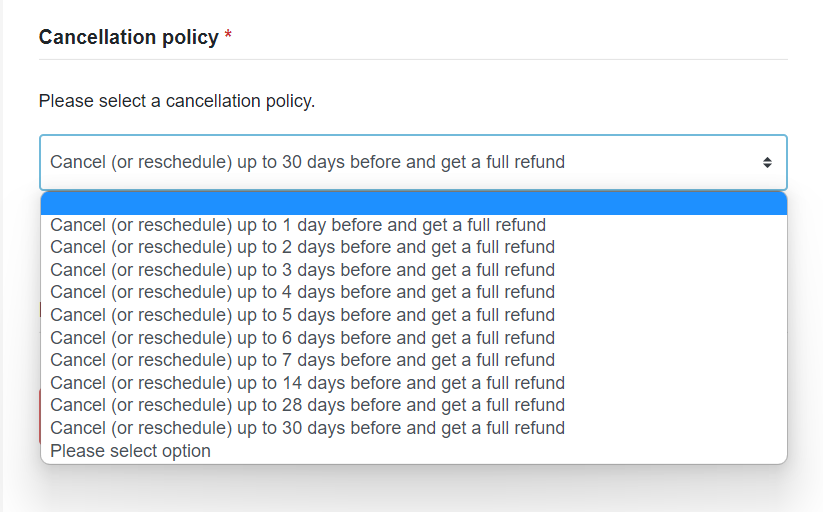
You must select a Cancellation Policy from the dropdown menu that will apply to your experience. The policy will determine how many days' notice a customer must give in order to cancel or reschedule their booking and still receive a full refund.
If a customer requests to cancel their booking, and they are outside of the cancellation policy window, then they are not entitled to a refund.
If you are happy to refund a customer outside of your cancellation period, please contact a member of the Yuup team to action this for you. Yuup will not refund a customer outside of the cancellation period without the host’s permission. However, the team may notify hosts of cancellation requests that have been made due to exceptional circumstances for their consideration.
If a customer wishes to cancel or reschedule their booking within the cancellation period, they can do so through their Yuup customer account under their Orders. If they request a refund, it will automatically be issued by the Yuup system.
Customers can cancel their experience outside of the cancellation policy to free up spaces for other customers, however, they will not receive a refund in this instance.
Please note: gift bookings are non-refundable and expire after one year.
Hosts
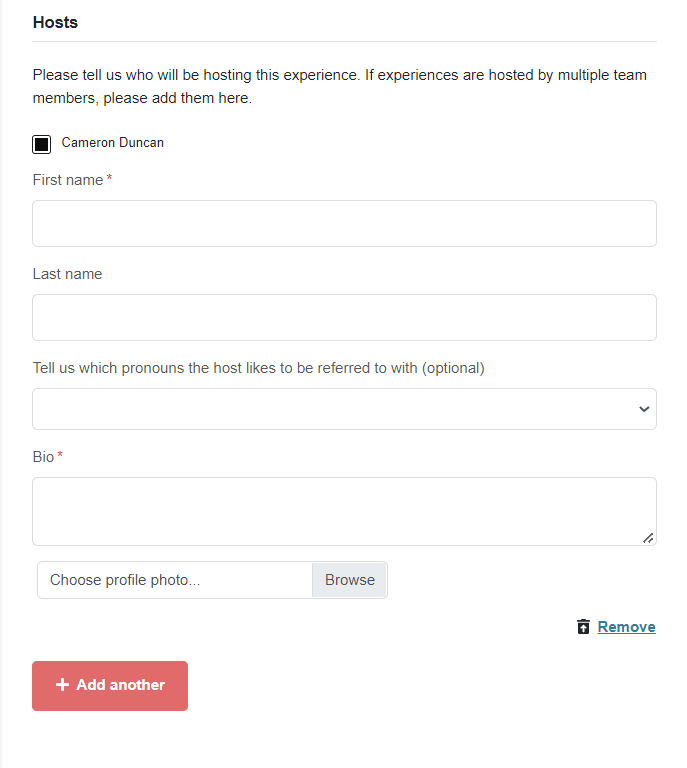
If you have created a Host bio on the Team tab, these will show up under the Hosts section and can be added to your experience page by ticking the box next to the host running the experience. Alternatively, you can set up a new Host bio by selecting + Add another.
Duration
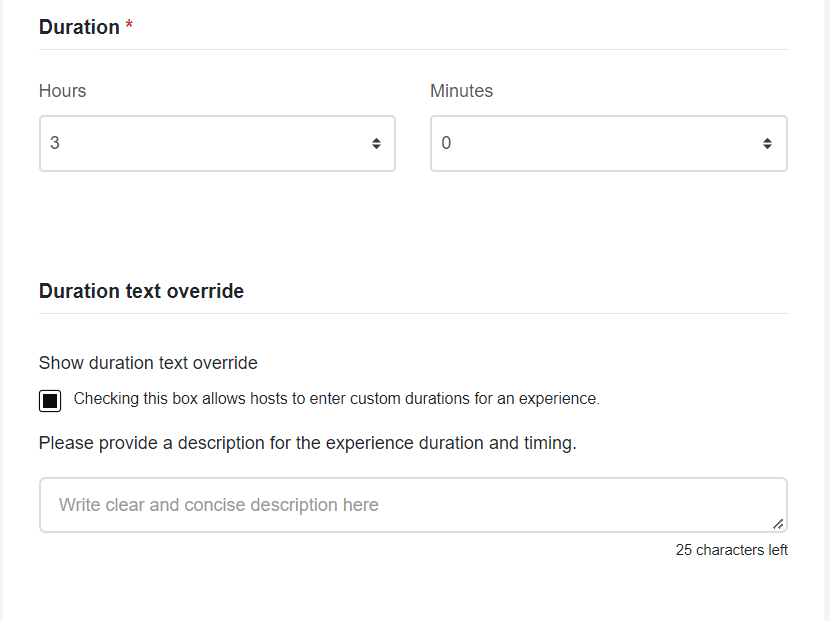
Here you can set the length of your experience. We recommend including any additional time needed for your customers to arrive and settle in etc. When you select a start time for your experience, the system will automatically apply this Duration to determine when the experience ends.
If the length of your experience is particularly long and not displayed on the Yuup page, you may select the Duration text override button and enter the duration manually.
Participant Terms & Conditions
These Terms and Conditions apply to your customers rather than to yourself. You can either use Yuup’s standard Ts & Cs or upload your own. Yuup's Terms and Conditions can be downloaded from this section of the experience page for you to view.
Now that you have completed the Details section of your experience page, click Save. Once this is done you will be able to move onto the other tabs at the top of the page. You will also notice that more options have been added. You can now Preview your experience page by selecting the button in the top right of your screen to see what the page will look like on yuup.co.
Media
You can upload up to five pictures to your experience page. All photos must be at least 1920px wide x 1080px high, with the file being PNG or JPG and no larger than 4MB. If you need help resizing your images, please contact the Yuup team.
Great photography can make a big difference in securing bookings, so make sure your images are high-quality and engaging.
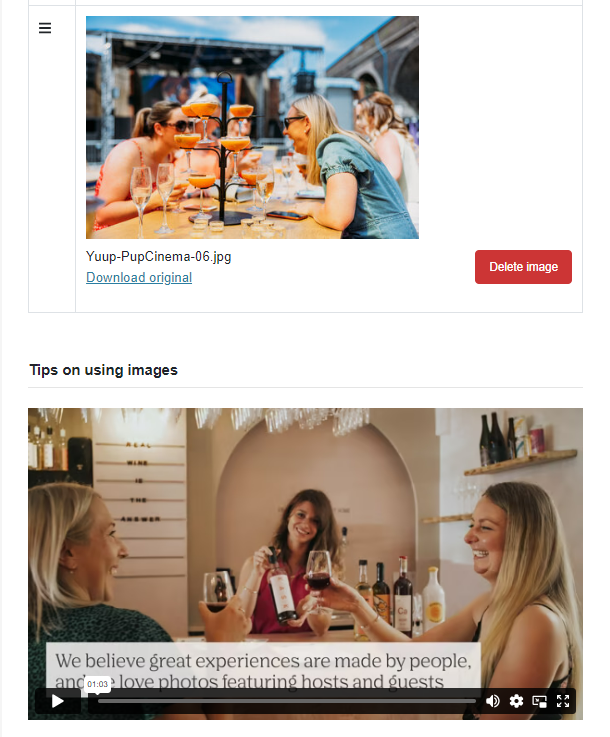
For more tips and advice check out the video at the bottom of the Media tab to see what makes a great experience photo!
Yuup photos should:
- Be landscape and at least 1920 x 1080px
- Be high-quality and high-resolution
- Give customers an idea of what the experience looks like in action
- Display the typical group size of the experience
- Show customers interacting with the host and having fun
- Capture materials, tools, food, drinks and anything else available during the experience
- Show the final product (if applicable)
- Capture the venue
Yuup photos should not:
- Be in portrait format and smaller than 1920 x 1080px
- Be blurry, grainy or of low-quality
- Be poorly lit, out of focus or in black and white
- Show any logos or have any text over the image
- Be a collage of several images
- Have an unnatural border or frame
- Fail to display what goes on during the experience
Emails
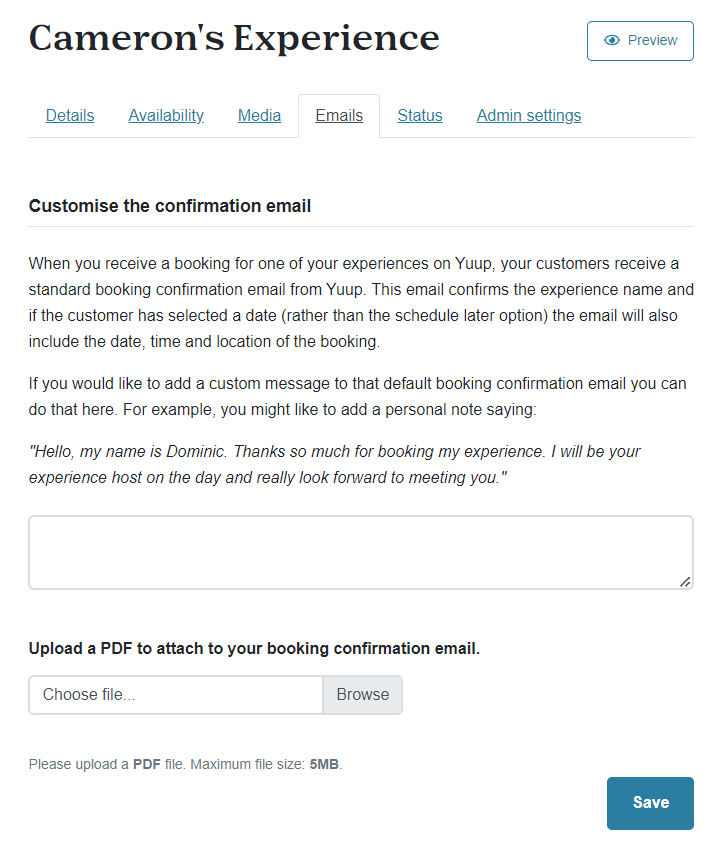
On the Emails tab, you will be able to set up automatic messages that will go directly to your customers’ inboxes. You can attach a PDF file to your message, ensuring that the customer receives any important information or forms after booking.
There are two options under the Emails tab:
- Customise the confirmation email. This email is sent immediately after a booking has been Confirmed by the host. The content of the email is up to you, however, this is typically used to thank the customer for booking and inform them of any important details about their experience, such as directions or attaching any forms that require customers' attention.
2. Automatic messages. This feature can be used to send a message to customers that is triggered a set number of days before the experience (please note Yuup will also send a reminder one day before the experience). You can also attach a PDF to automatic messages.
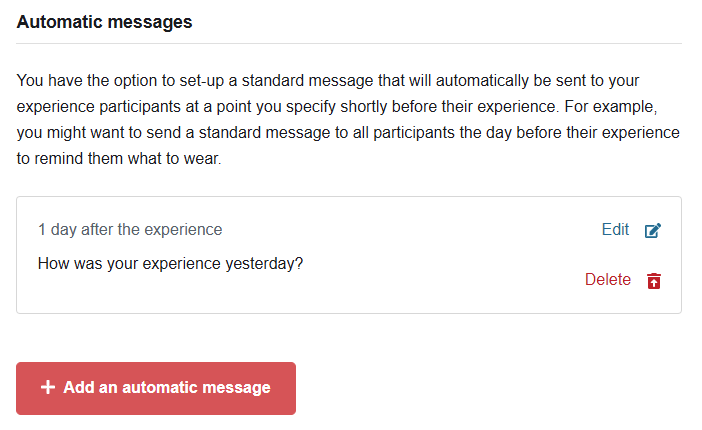
Please bear in mind that customer responses to these messages will come through the Yuup messenger platform in your host account.
Verification
Once you have finished setting up your experience, you need to submit it on the Verification tab.
Our team will then check over the experience and our Content Writer will work their copy-editing and SEO magic on the page before it is published on Yuup. If any details are missing, or if we need additional information, a member of our team will be in touch.
We work hard to publish new experiences as quickly as possible, but as a small team this can take some time during busier periods, so please bear with us. We recommend submitting experiences 6-8 weeks in advance to allow time for them to be published and gain traction with Yuup customers.
Once your experience is published, the Verification tab will change to Status.
Status
If you wish to remove your Yuup experience/s from the platform, select the Status tab and select Pause or Archive.
If you Pause an experience, it will no longer show on the Yuup website, however, customers with unscheduled bookings will still be able to schedule these provided there is availability on the experience page.
Please note that if an experience does not have dates, it will be automatically Paused by the system and will be re-published once new dates are added.
Archiving an experience means that it will not show on the Yuup website, and any outstanding unscheduled bookings will not be able to be scheduled. We recommend using this option for experiences that you do not plan on running again, and which have no outstanding bookings attached to them.
Please note: only Yuup admins can 'unarchive' experiences, so please get in touch if you would like an archived experience to be re-published.


